Students are created as Posts and the easiest way to make a new one is to copy an existing post for another student and then edit it.
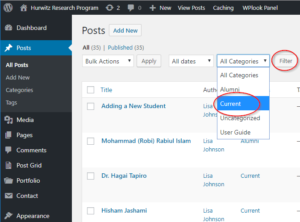
1. Select Posts from the Dashboard and choose the category of Current and then click on Filter.
2. Hover over any student and you will see a selection. Click on Duplicate This, and you will see the duplicate post appear with “–Draft” after the name. Hover over this new page and select Edit. Change the Name and all the pertinent information.
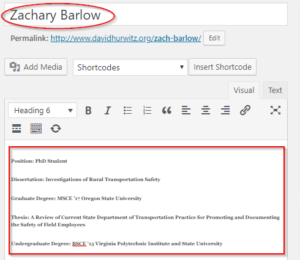
3. If you need to add any new fields, make sure you have Heading 6 selected, and then bold the field heading.
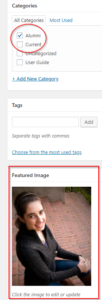
4. On the right hand side, under Categories, make sure you have selected the correct one (either Current or Alumni) and then click on the image to switch it to the photo of the new student.
5. The student image must be sized to a 4:5 ratio. The ratio of 400 pixels wide by 500 pixels high or 280 X 350 works. It can be larger but it will take longer to load and will be downsized anyway for viewing. This ratio must be maintained in order to have a neat, orderly layout on the student page.
See Adding a Photo for more information.